How to pre-record and sell your events during Covid 19 isolation
How to create and sell videos for your classes, workshops and events
Pre-recorded event experiences are an interesting option to continue your classes, workshops or events during any period when you are unable to deliver them face to face.
Rather than delivering an event as it happens, as you would with a live stream, pre-recording allows you to film, then edit, a depiction of your event so that you can distribute the final product for your audience to watch whenever they are ready.
This post outlines the unique set of challenges for anyone who chooses this route to continue their events business during social distancing measures. Each hurdle can be overcome with time and persistence and the potential rewards for those who are successful are enticing.
Why pre record event videos?
Arguably, the most important factor when producing an online video of your event is time. You gain the time to repeat each take as often as you want until you are happy with the result. However, on the flip side, production of a video to a saleable standard will take time, especially when you factor in editing, adding music cues and more beyond the actual filming process.
Video editing can open up many avenues which were previously closed to you as an organiser of live events. For instance, if your event involves creating something, you can easily edit out the gaps between stages and condense a longer process into a shorter period of time.
Another advantage is the flexibility that pre-recorded videos grant to those who will be watching them. This may be quite a big deal for an audience which is restricted to the home, where messy lives are more likely to derail regular event attendance.
Your time investment can be repaid with a relatively long term shelf life for the videos you produce. In short, you have the potential to sell one piece of content, and generate income, over and over. If this is your intention it is probably wise not to make any references that may date the video, which may be harder than you think in times when news cycles are moving so quickly!
What can I use to produce event videos?
There are some things which are absolutely essential to produce saleable videos:
- A camera (obviously)
- A way to keep the camera stable (such as a tripod)
- A source of light
- A microphone
- A space to record (and suitable background for your shot)
- Video editing software
Fortunately, anyone who owns a smartphone (camera and microphone), a lamp (source of light), stack of books (stability), and a computer can achieve a workable version of all of the above with no extra cost. However, production quality can vary wildly and those who are willing, and able, to invest a little more in some areas are likely to see better results.
This blog post does a good job of summarising the different options that are available at different price points and Bookwhen has some more guidance on the factors listed above in our blog post on delivering online events.
How to pre-record event videos
The 3 stages to produce any kind of professional video are pre-production (planning), production (filming), and post-production (editing). The temptation may be for your mind to focus on production, after all, this is the part of the process which is most evident in the final product. The reality is that each part is equally vital for a polished result.
Don’t overestimate your capabilities for the first attempt! Successful completion of all 3 stages is within most people’s reach but the more ambitious and complicated your video the more time, effort and expertise you will need to bring to the table. It’s far better to start by doing something simple really well before building up to more ambitious ideas in later attempts.
Pre-production
The planning phase - this is when you need to decide what type of video you want to produce. If you’ve been running face to face events already you probably have quite a good idea of what is going to appeal to your existing audience. However, video is a less personal way to communicate and you may need to work harder, or at least differently, to convey what came easily before.
Researching other content producers is critical here, find people who have made video content similar to your offering and observe the approach they took. Then apply your own personality and ideas and see what you come up with. Things to look out for include:
- How to address the audience: will you act as though you are in the same room as your audience? Present your event like a tv show? Or something else?
- The tone your video will take: Personal? Authoritative? Will you be self assured? Or acknowledge your inexperience?
- Will your video be one long scene or multiple shorter scenes?
- Will your video include any title cards and graphics between scenes?
- Will your video include any background music? Throughout? Between scenes? Or just at the beginning and/or end of the video?
Script
Part of pre-production is putting together a script for your video. This may or may not include the dialogue that you will say when delivering the event - some find a rough idea of what they need to say is enough guidance while others find the reassurance of knowing every single word works better.
The important thing is that you are comfortable with what you are saying. If you know your event routine like the back of your hand then a script may be more of a burden then an assistance, and you can focus on just the introduction and sign off for the video. If you’re doing something different, maybe a little outside of your comfort zone, then a full script might be more helpful.
Your script can include some, or all, of the following:
- Dialogue: what you say (even how you say it if that helps).
- Plotting of every scene of your video, if appropriate: to help you to determine the run time ,and whether you need to add/subtract elements to achieve your target length.
- What you need to do in each scene.
- What props you will need for each scene.
- The location of each scene (if this will change).
A script will be handy when it comes to rehearsing your video and, of course, it is the best way to keep track of what you are doing when the time comes to film. Beyond this, scripting can help when you make a series of videos, enabling you to achieve a uniformity of style so that each video fits with the overall branding and tone of the others.
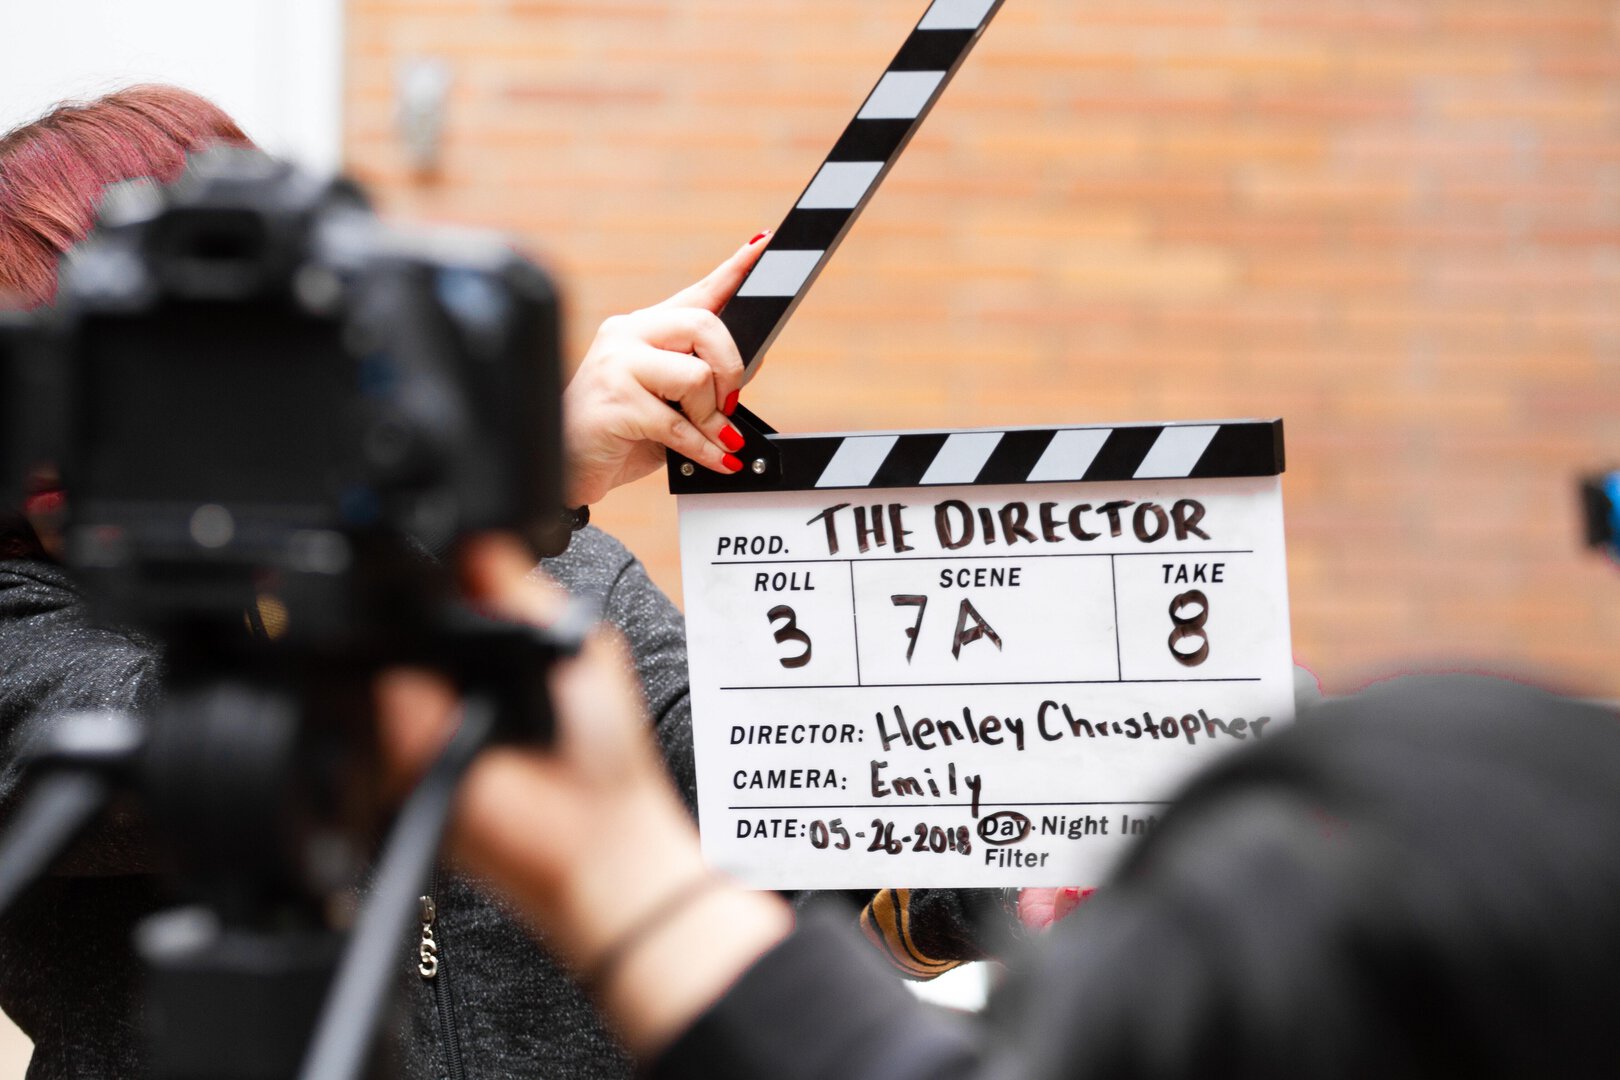
Production
Time to film! Video production, like so much in life, will be far easier if you are able to recruit another person to assist you. An assistant can monitor audio and visual equipment as you record. By checking for problems and stopping takes if any appear, they can save a great deal of time. An extra pair of hands will also be useful when setting up your recording space, removing distracting clutter, making sure that there is enough light etc.
None of the above is impossible on your own, of course, but you will have to put your best face forward to appear in the video. You should conserve as much energy as possible in order to appear fresh and engaging for your audience.
You can read more about creating a suitable environment in which to record in our post on delivering online events.
With an appropriate environment in place, it’s time to set up your shot. Make sure you are in focus and have locked the exposure of your device to this setting, this will prevent autofocus from picking something else in the background to focus on and blurring you out. Also think about the best way for you to be framed in shot. There are several different options for framing, if you’re producing an exercise or yoga video you probably want a full shot to show off your form. Whereas, for a training or activity video, you may prefer for people to pay attention to your words so a medium shot, medium close up or close up may be better.
Test
Always do a quick test of your equipment before you start recording for real. There is little more frustrating than delivering the perfect take only to discover that a loose audio cable leaves a buzzing sound on the audio track, or there is a smudge on the camera lens. Ensure that the device you are recording with has enough free memory to accommodate your recording. High definition video can take up a lot of space and you want to make sure that your performance of a lifetime isn’t lost to the world just because you hadn’t moved the holiday snaps from your memory card in advance!
Keep your script on hand for guidance. Don’t worry about getting everything perfect on the first try, but it’s great to push for at least one near perfect version of each scene. A lot can be fixed in the edit but this is time consuming and the more you can get right at this stage, the better.
Review
Review your takes when they are completed to make sure that all of the elements of the shot are appearing as you want them to. It’s better to adjust and go again straight away than to recreate your camera and lighting setup because you only noticed a problem in the edit.
B-Roll
B-Roll is supplemental footage which can be intercut with the main subject of your video and it’s something that a lot of filmmakers swear by as a useful way to smooth transitions between scenes and cover up any mistakes or technical malfunctions. Loved the first take before you were interrupted half way through by the doorbell? No problem, just find a moment when you can cut to ambient footage before the interruption then resume with the best version of the 2nd half footage you have.
B-Roll can be stock footage, or you can even shoot some yourself to maintain consistency of appearance with the rest of your video. It’s not essential, but take the opportunity to shoot anything you think might look good during production - you never know what it might be useful for later!
Post production
Post production involves taking the best bits of the raw footage you have shot and stitching it together, with some finishing touches, into a polished and coherent video. This process may take as much time as the filming itself, perhaps even more, depending on the complexity of what you are trying to do.
The first thing you need to do is pick the editing tool that works best for you. There are plenty of free options available, which should allow you to complete the basics. You will almost certainly have to learn a new interface and some new concepts. Again, there is plenty to read if you want to get into it and really devote some time but, if starting a new hobby isn’t what you’re looking for, keep things simple from the get go and aim to reduce edits where possible. You can always add further complexity later once you’ve found your feet.
Most film editing apps will leave your original footage intact when you are producing edits. You should make sure that this is definitely the case with your choice before you begin. As long as you keep the original footage you will be able to start again from the beginning if you need to, and a good app will let you cycle back through different versions too.
Keeping things organised is essential, you’ll probably attempt a few different versions before you reach your final cut and labelling the files accordingly will help you to keep track, and easily revert back (even if your app doesn’t have this functionality). If you’re working with different scenes then it’s best to split up and label your files this way too.
Protect your footage
Save and backup everything! You should have at least one backup of your footage as each file represents a lot of your time and perspiration! You should have another local copy, and a version on another device or storage/cloud drive as a minimum, just in case something happens to the file you are working on. Hopefully you won’t need it but, if you do, the gratitude your future self will feel will be immeasurable.
Enjoy yourself!
Have fun and be bold in the edit! If you’ve taken the precautions mentioned above then you can play around with what works best for as long as you want.
Publishing your video
Once you’ve produced your content you need to make it available for people to view online. For most small businesses this will involve uploading the video to a hosting site, and the main players in this field are YouTube and Vimeo.
Each platform has their own strengths and weaknesses. YouTube, as the only completely free option, with unlimited storage (Vimeo’s free plan limits you to 500mb) and stronger analytics, is a tempting option for businesses both large and small. However, Vimeo offers far greater protection for those hoping to restrict access to video content.
YouTube lets you create ‘unlisted’ videos, which aren’t searchable but can be shared by, for instance, an attendee who emails your video link to a friend or posts it on social media.
Vimeo, on the other hand, offers ‘domain level privacy’ which means that you can choose which specific website domain your videos can be embedded onto, and viewed from. This feature is only available on paid Vimeo plans but is often enough alone to justify the cost for video content producers. Another factor worth consideration is that Vimeo’s higher bitrate makes for much higher definition video content.
Bookwhen’s Vimeo integration means that you can create an event page which is only accessible to those who have purchased a ticket. Video content can be shared on this secure event page, with the time ticket holders have to watch the video determined by the length of the event you have created.
Each person who views an illicitly shared copy of your video content represents a missed opportunity for you to generate revenue so it is important that you take the appropriate steps to control access as far as you can.
How can I promote my event videos?
As with face to face events, it is important that you are able to direct your attendees to a landing page for your video content. Here they can easily convert their interest into revenue for you. A landing page (such as a Bookwhen public booking page) allows you to utilise digital marketing channels such as social media and email marketing and give potential attendees the clearest possible route to participation.
Rather than remembering website URLs, then noting and following instructions to access your session, Bookwhen provides a seamless integration which guides your attendees through booking, confirmation and into your protected video content. If you haven’t tried Bookwhen already, you can sign up for a free trial here and see how our features simplify the process.
Once you’ve established an audience for your online video content you can start to think about how best to retain the interest of your attendees. You might try experimenting with the format to keep things fresh. Alternatively, if possible, you can develop a series of event videos which progress in difficulty, hooking in beginners and then keeping them interested as their skills and experience grow.
Whether they are a part of your online event strategy, or your main offering for the duration of lockdown, pre recorded event videos can be a valuable addition to your events based business. If you’re willing to invest the time it is possible to produce a product of a high enough standard to convey your event experience and pique the interest of your potential audience.
Bookwhen’s event video sharing features are designed to protect event organisers’ content without compromising on the shareability of these digital event experiences. They allow event organisers to share their event videos via an online event, with restricted viewing periods for a set period of time. You can sign up for a free trial of Bookwhen and test this features out for yourself and our friendly support team is always on hand to assist with setting up whichever online event scenario suits you best.